Showing posts with label crafts. Show all posts

Thursday, October 9, 2014

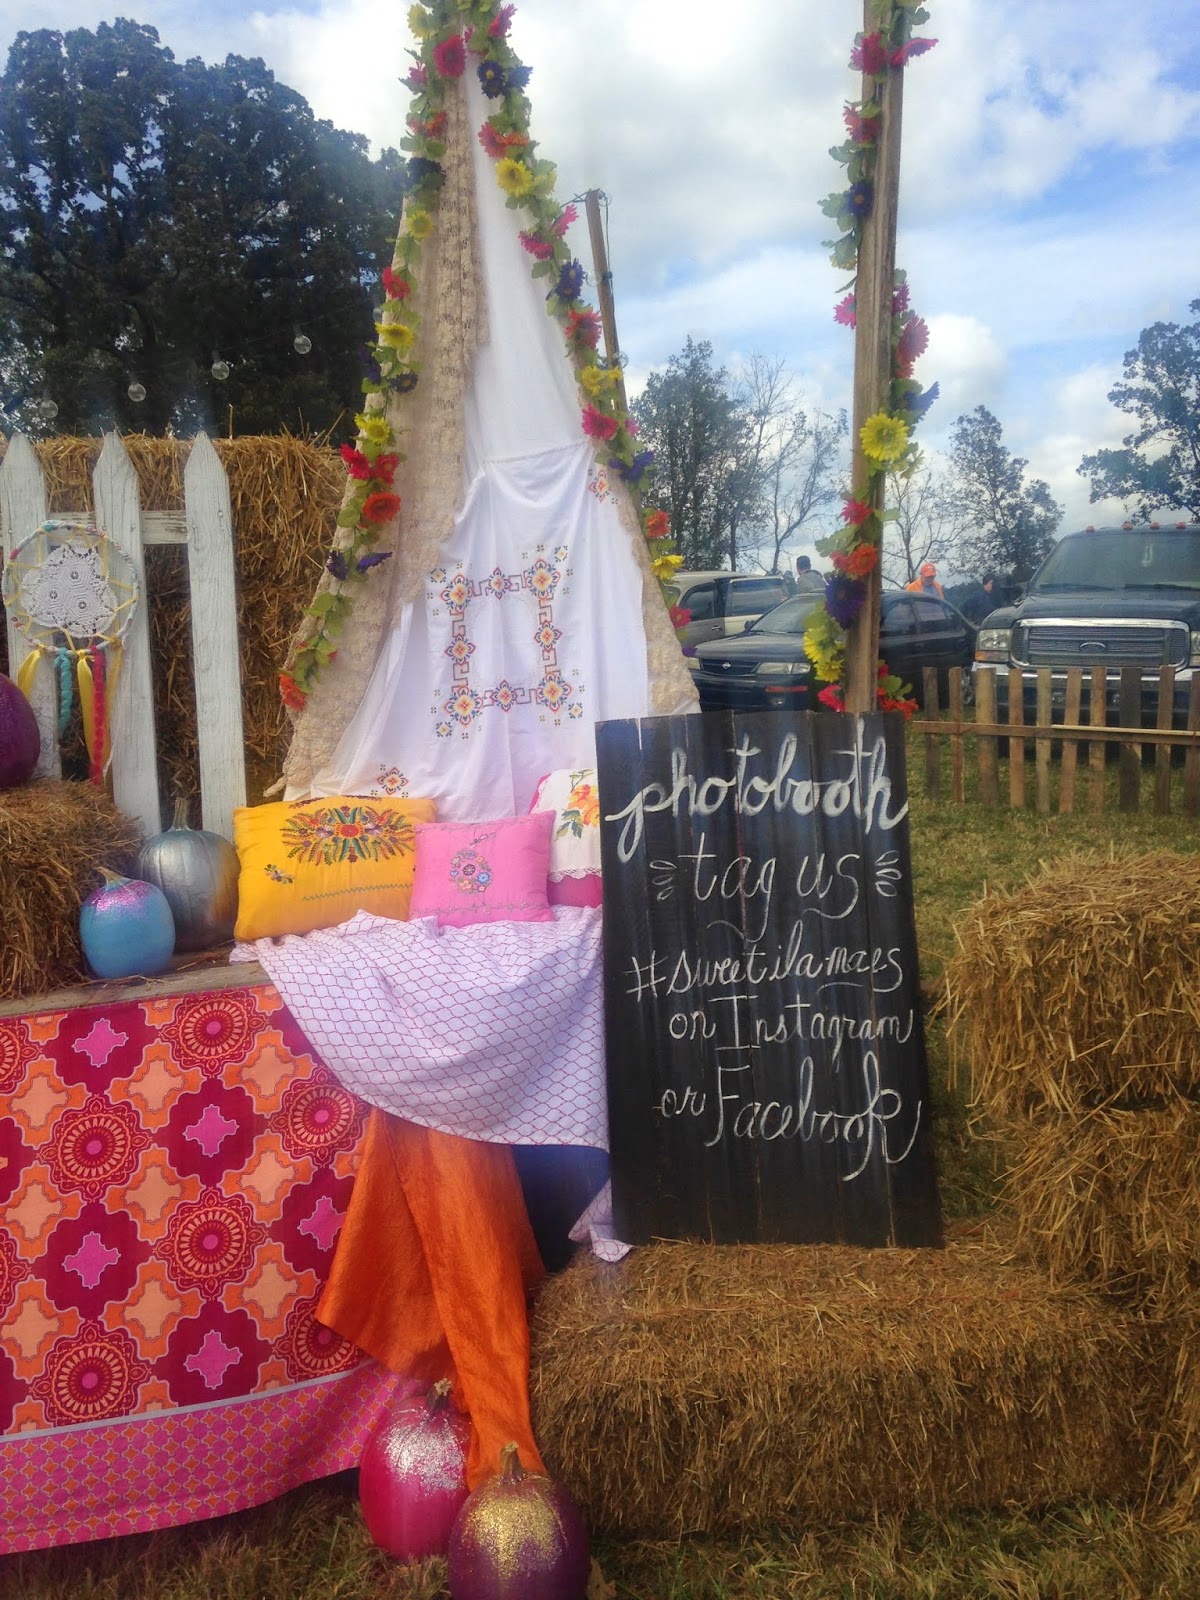
Sweet Ila Mae's barn sale

I went to my first barn sale this past weekend and I fell in love.
I could have spent the whole day there if I had the time.
Think: shabby chic homemade crafts.
They had everything there from homemade signs/windows/ornaments to homemade soaps and some pies :)
 
Sweet Ila Mae's barn sale is where tons and tons of vendors come out and sale their homemade goodness. These people have worked hard crafting away. For some of them this is their job. I met a guy who does wood working. He had homemade wooden benches that were to die for. He makes stuff, loads it in his trailer, and travels around to nearby sales like this. How fun is that?
 
Everyone was so nice and welcoming, too! It was about 50 minutes away from Cookeville, in the small town of Quebeck, Tennessee. We turned off the main road and drove down an old road for about 5 minutes until we finally were there. I'll let the pictures explain the rest :)

 Driving up to it...how cute is this?!
 
 
(Sorry for the iPhone quality)

They had live music, too!
 
Kat and Sarah drove up for it, too! So much fun!!


I ended up only buying a cute shirt and some homemade soaps. There were a TON of things I wanted to buy but I limited myself (Matthew, be proud!!). The next barn sale is in June and I am already on the countdown!!
 
Have you ever been to a barn sale?

Thursday, July 24, 2014

DIY Headboard

 
I have a to do list for my apartment about a mile long but one of the things on the top of that list was to make a headboard for my bed. I knew I was going to need my dad's help because 1.) he has all the wood at home in his shop and 2.) he can build anything if I show him a picture of it.
I've spent the past few months doing a little research here and there to find the style I like the best and when my family came to visit a little over a month ago I had my dad take measurements and showed him the one I liked best. Well, lo and behold last Thursday I got a text from daddy of this beautiful thing...
Here are the materials we used
  • Plywood
  • Fabric (enough to cover each edge of your plywood shape by about 4-5 inches
  • Foam
  • Quilting Batting
  • Spray Adhesive
  • Staple Gun (My favorite tool, ever)
  •  
    We started out with the foam. I bought mine at Hobby Lobby for $26 (used 40% off coupon) I'm sure you can find it online for a better price. If I would have known it cost that much I definitely would have done some research for a cheaper price but I waited until the day we made it to purchase it.
     
    To apply the foam we used adhesive spray, I don't remember how much this was because I already had it on hand. We sprayed the whole board with it and then laid the foam down quickly. We cut the remaining foam off.
     
    Next we applied the quilt batting. I bought this the day of at Hobby Lobby as well. It was $15 (used 40% off coupon) I bought the queen size just to make sure I had enough and had plenty and then some.
    We turned it over and left about 4-5 inches and stapled it down with a staple gun


    We cut the remaining off
     
    This area was pretty difficult. We had to tug and pull at the batting to get it as tight as we could to staple it without ripping a hole in it.
    

    Here is the back once we finished stapling the batting
     
    The front

    and side view
     
    Finally, it was time to add the fabric. I waited last minute on finding fabric (I see a trend here) but really lucked out on this because it was already 50% off at Hobby Lobby and matched perfectly.
    It was tricky at first because we had to make sure it was straight and then flip it over to staple (it didn't help we were making this on my tiny apartment deck lol)
     
    We stapled the fabric down but a lot of the staples weren't going all the way through so we used a hammer to help push them in.
     
     The most difficult part of the whole thing, again, were those small parts on each side of the arch. We cut slits into the fabric and pulled and pulled (carefully, so we didn't rip the fabric) There really aren't any specific instructions for that part other than to be careful! We probably spent about 30 minutes alone on that section.


    Here it is!


     I absolutely LOVE how it turned out.
     The fabric couldn't have matched more perfectly.
     
    If you have any question that I didn't cover just email me and I'd be happy to answer them! 
     

    Wednesday, July 23, 2014

    DIY Chaklboard Frame

     
    If you have been to Hobby Lobby recently then I'm sure you have seen these frames. I have been eying them for the past six months and they finally were half off so I bought a couple. I knew that getting glass cut to fit these would be anywhere between $60-$70 and just couldn't justify paying that. So after researching some different options I found plastic backings at Hobby Lobby for $5. I don't know about y'all but I would much rather spend $5 instead of $60 any day! I painted the backing with some chalkboard paint I already had on hand and now it's finished. Loved the way it turned out. Now I want to make about 10 more. I looked up some chalkboards with white frames like this and the average price for them are anywhere between $105-$120 so I feel paying $25 (Frame was on sale for $20 and plastic backing was $5) for this project is more than okay! Especially since it will be used for way more than just apartment deco :)
     
     
    Here are some pictures of them up close, the detailing on them are gorgeous.
     
    Here is a picture of the plastic backing..it's hard to see but there isn't really a good way to get a picture of this. It's in the frame section of Hobby Lobby and they have many different sizes.

     and here is the plastic backing after I painted it with the chalkboard paint. I used a sponge brush and it worked fantastic! It did take about 6-7 coats. It probably would have been fine with about 5 coats but I knew once I got it in the frame there way no taking it out so I was just being cautious.
     
    There aren't claps on the back of the frames (which is incredibly frustrating) so I put a small drop of hot glue in all four corners of the frame and then laid the plastic backing on it and then applied hot glue all the way around it from the back. If you decide to use hot glue to keep it in place then make sure you do little spots at a time and then hold it down to dry and then move to the next section you are going to hot glue down.
     
    This is a really simple project and like I said, I LOVE the way it turned out!

     I also bought a small size but I'm not making that one into a chalkboard :)
     
    Have you picked up any of these frames?
    If so, what did you use them for? 

    Tuesday, December 10, 2013

    Christmas wreath with countdown

    This week hasn't been off to the best start. When it rains it pours but I am determined to not let this get me down! It's the best time of the year and I am going to enjoy every second of it.
     
    Saturday night I made spaghetti and Matthew took a break from studying and came over for dinner and a Christmas movie. Matthew, food and Christmas movie...three of my favorite things :)
    After the movie Matthew went back to his apartment to study for the rest of the night and I was feeling crafty so I made a Christmas wreath for our front door, finally!
     
    I have been looking on Pinterest for ideas and sadly I still can't get how to make the cute burlap ones or deco mesh. The last time I tried I about chucked it out the window a few times. I will learn how to make it though, maybe a goal for 2014?
    Anyways, I picked up some tulle at Wal-Mart. A roll of red, a roll of white and a roll of green.
    They were cheaper there than at Hobby Lobby where I had looked previously so I was pretty happy about that!
    I didn't know what I was going to do with the tulle or how I was going to apply it to the wreath but I just started tying it and after doing a few it was turning out pretty cute!!
    I just cut pieces long enough to tie, some were longer than others but that's okay I trimmed it after so they were all pretty even.
    WARNING: Glitter will get EVERYWHERE. Have vacuum on stand by!!
    This is a little time consuming but I was watching a Christmas movie and talking with friends so it didn't seem too long.
    I didn't like the way the inside looked so I looked for something to hang in the middle. My roommate suggested hanging a stocking in the middle but I remembered I had bought a little chalkboard Christmas countdown at Target in their famous dollar section and put it in the middle
    and it was PERFECT I tell ya!!
     
     
    I love the way it turned out and fully plan on using it next year! I might even make my mom one for Christmas as well :)
    I made this wreath for about $12. I don't know about y'all but I'm not about to spend much more than that for a wreath that gets to hang up for about a month. BOOM.
    There are 15 days until Christmas now, these pictures were taken yesterday!
     
    Linking up with Michaela and Cassie today!

    Tuesday, July 2, 2013

    July 4th pinning...

    July 4th has to be one of my favorite holidays. 
    It's the perfect day to get together with family and friends and to have a big cookout, homemade ice cream, some fresh strawberries and end the night with a sky full of fireworks. 
    Can you think of a better way to celebrate our freedom?
    Well as usual I have been stalking Pinterest to find the newest cutest July 4th decorations and here is what I have found that I am absolutely LOVING
    (None of these pictures are mine, I don't take any credit for them)
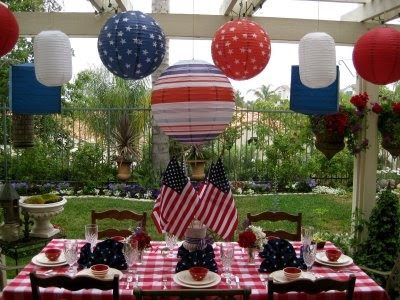
    I am LOVING these table set ups! How cute are all these decorations?!?!!


    These would look so dang cute hanging off the deck at my apartment!!

     Adorable and would be a great hit for the kiddos!

    These centerpieces are adorable! I am going to try to make something similar this week!


      I think my dad has some extra wood laying around somewhere I can paint on this week... :)

     Can you imagine the look on the kid's faces when they saw these at your cookout?

     If you know me then you know that I am in LOVE with mason jars so as soon as I saw these on Pinterest the wheels in my head started turning...I can't wait to make these!!

    How are y'all celebrating our freedom this Thursday? Any fun cookouts or barbecues?
    I can't wait to see everyone's pictures on Instagram!!