Showing posts with label Tiffany & Co.. Show all posts

Tuesday, September 3, 2013

DIY glitter candle


I found these on Pinterest and just knew I had to make these for my sisters big sweet sixteen surprise party back a few months ago.
Her theme was Madison & Co. Inspired from Tiffany & Co. so I chose blue glitter.
 
I bought simple white candles at Wal Mart but I bought the glitter at Hobby Lobby.
I wasn't sure how I was going to do it and Pinterest surpringsly didn't give a step by step tutorial.
 

So what you will need:
-Plain candle
-Glitter
-Paper plate
-Modge Podge
-Sponge brush
-Double sided tape
-Laquer
-Sticker or printout from computer
*I printed the numbers 1 & 6 out and used the double sided tape to tape it onto the candle.
 
 
Step 1: Tape paper or put sticker onto the candle where you do NOT want glitter to be.
Make sure you put it on the candle straight so it's not crocked because you can't change it.


Step: 2: Using a sponge brush paint the modge podge all on the candle on the sides (wherever there is modge podge is where the glitter is going so if you don't want glitter in certain spots don't put modge podge there!)
 
Step 3: Pour glitter out onto the paper plate, not the whole bottle just some to roll the candle in, depending on the size of your candle is the amount you will need to pour out.
Once you pour some out spread it around with your finger a little and then
lay the candle on it's side and roll it in the glitter.
Pick it up and roll the other side so that the whole thing is covered in glitter.
Work fast because you modge podge dries fast.


Step 4: Sit up right and just let it dry for about 30 mins without touching it.
(I would advise sitting in on a clean paper plate to dry)
 
Step 5: Take the candle outside and sit it on a flat surface (concrete, wood,etc) and spray the whole candle with laquer. This will hold the glitter in place so it doesn't all fall off every time you touch it or pick it up. I sprayed each candle about 4 times just to make sure it would all stay in place and it did!
 
Here they are at her party....
 

They were perfect centerpieces! 

Thursday, August 1, 2013

DIY Tiffany & Co. boxes

Back a few months ago we threw my younger sister a surprise 16th birthday party and it was a a 
Tiffany & Co themed party. I absolutely LOVED planning and helping decorate for the party and I was so pleased with how everything turned out. 
One of my favorite things that I made were Tiffany boxes.
Stay Crafty My Friends
They were actually really easy to make and it didn't take too long.
Here is what you will need:
Paper mache boxes (can be found at Hobby Lobby)
Paint (I used Bahama Blue)
White satin ribbon
Scissors 
Double sided tape
These are what paper mache boxes look like, I walked around Hobby Lobby one day for a good hour trying to find them on my own, then I asked someone and they took me right to them. Should have just asked. So in case you were wondering THAT is what they look like.


This is also the exact shade of blue that I got, it is the closest to the shade of Tiffany blue and I think it was
 P E R F E C T

All I did was paint the boxes blue, it took two coats but that covered everything perfectly.
 After it dried I used the double sided tape to stick the satin ribbon to the box, I thought about using hot glue but then you would see it though the ribbon so double sided tape it was. 
My mom made bows and then I got glued them on top of the box.
and that's all! 

SO EASY
&
SO CUTE

Tiffany & Co. DIY boxes

And here they are on the table, I just sat them off to the side and used them as a back prop.
 I ended up loving the table set up!
Tiffany & Co, DIY boxes
So there ya have it Tiffany & Co. DIY boxes!!

Friday, June 28, 2013

DIY Candy dish..from the Dolla Tree

HAPPY FRIDAY!!
I don't know about y'all but this week has flown and I mean f-l-o-w-n by!! Not that I am complaining or anything because I definitely love me a weekend!

Remember about a month ago I shared with you my sisters surprise Tiffany & Co. themed birthday party? And remember how I promised I would do a how to post on the different things I made?
Well I didn't lie because I am sharing that with you today...finally....I know.

DIY candy dish

Well guess what?!
I bought this at the Dollar Tree...it didn't look anything like this when I bought it but almost everything came from Dollar Tree!!
Don't you just LOVE a DIY project with stuff from the Dollar Tree? 
.

I had some crazy picture in my head for this little project and I knew exactly what I wanted to get and how I wanted it to look.
This is actually a glass bowl on top of a glass candle stick holder.
What what!?
I am in love with how it turned out!
I used Gorilla glue to glue it together and bought the spray paint at Wal Mart.
This cost me about $6 considering I already had the Gorilla glue.


I just glued the bowl on top and then let it dry for about 30 mins and then spray painted it.
Don't use too much of the Gorilla glue because it expands as it dries.

I also made this one...
DIY candy dish
It's a glass bowl on top of a drinking glass. 
I did the same exact thing as the one above!
It was my first time ever using spray paint and let's just say I am looking for everything to spray paint now, I loved using it!!


Have any events coming up you could use this in?
If you make one let me know so I can look at it!!


Week 2 of training will be over this afternoon as soon as I clock out and you all know what that means...
6 more weeks of training!! 

Hope you all have a wonderful weekend!! :)

Tuesday, May 28, 2013

Tiffany & Co. inspired birthday party

Well my weekend started on Saturday at 1:15...when I got off from one of the craziest Saturday's I have ever worked. Ever.
I came straight home and went into full decorating mode.
We were throwing my younger sister a surprise sweet sixteen birthday party. 
Her original birthday was back in April but with Proms, her sorority activities and graduations going on this was the first weekend we were able to have it...crazy busy.
Her best friend invited her over Friday night and took her shopping Saturday morning, so we could set everything up on our back patio.
The theme of her party was Madison & Co. 
y'all get ready for an overload of pictures....
She was definitely surprised!

If you are following me on Instagram then you have already seen some of these!
The candy and cake table
Tiffany & Co. inspired birthday party

Tiffany & Co. inspired birthday party


The candy holders...are from Dollar Tree
I got bowls and wine/martini glasses and just glued them together and then spray painted them!
Tiffany & Co. inspired birthday party

Three tier candy stand...also from Dollar Tree
plates and candle stands glued together
Tiffany & Co. inspired birthday party


 The food table 
DIY Tiffany & Co. inspired birthday party


I found paper mache boxes at Hobby Lobby and painted and added white satin ribbon to them
DIY Tiffany & Co. inspired birthday party

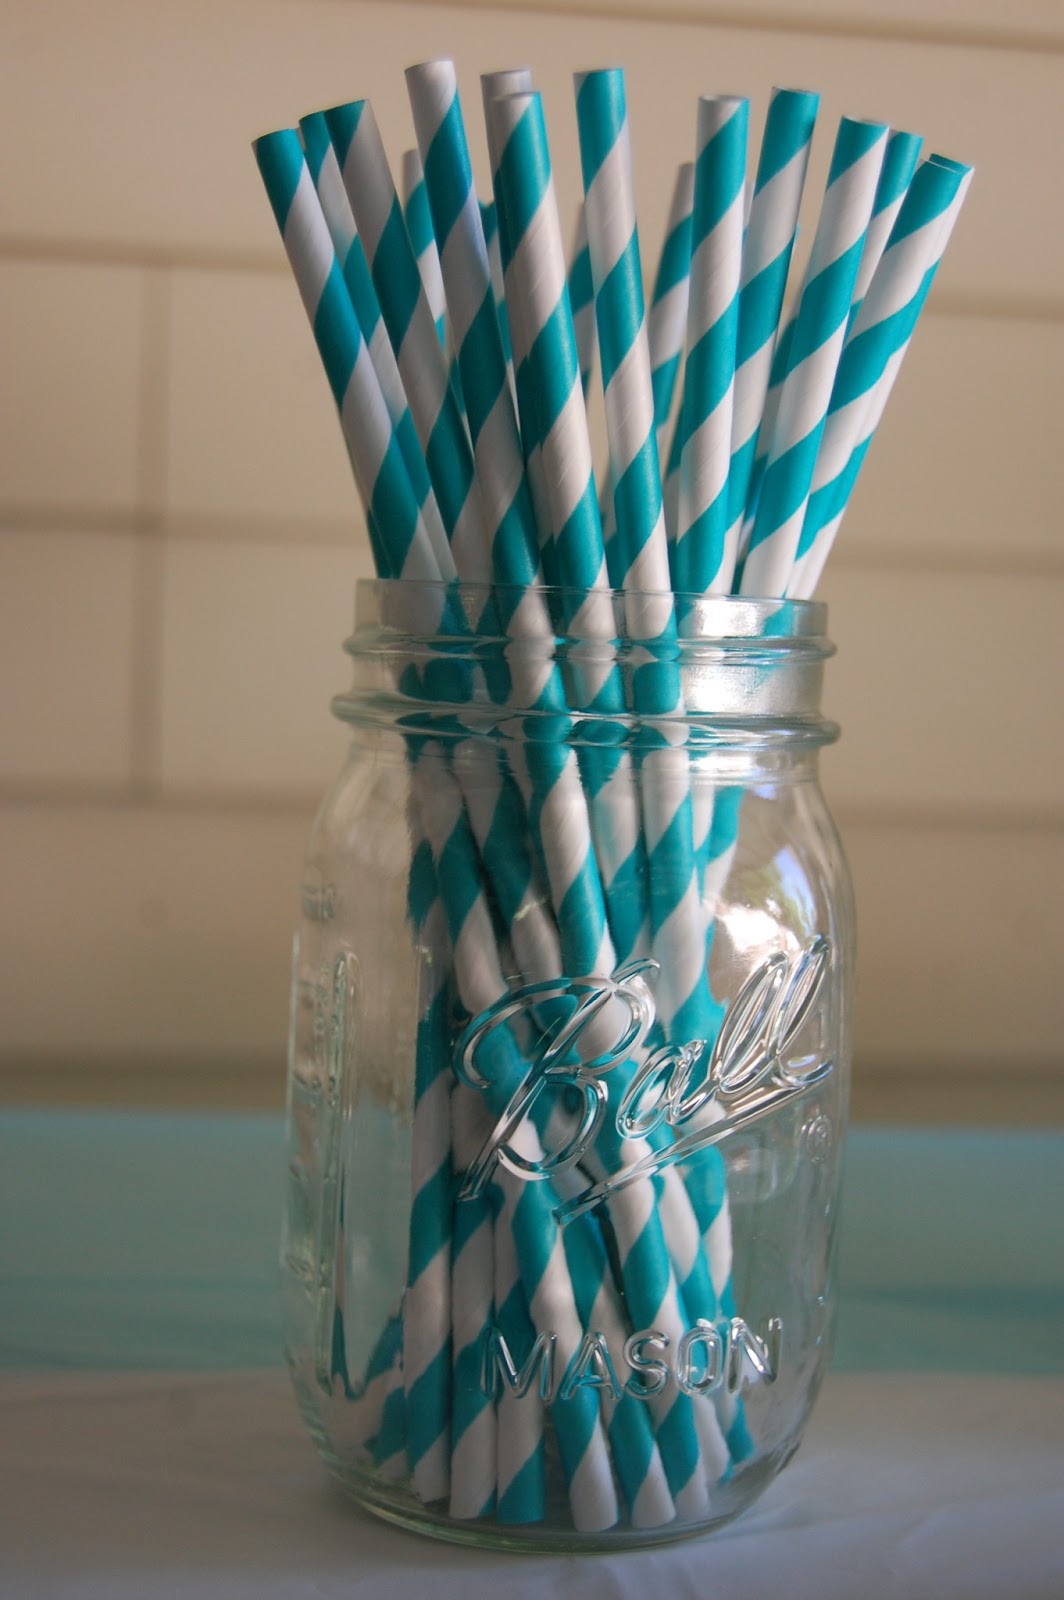
Absolutely IN love with these straws
DIY Tiffany & Co. inspired birthday party

DIY Tiffany & Co. inspired birthday party

The centerpieces
DIY Tiffany & Co. inspired birthday party

DIY Tiffany & Co. inspired birthday party

DIY Tiffany & Co. inspired birthday party


Balloons lining the drive way
DIY Tiffany & Co. inspired birthday party


and the cake...
oh.
my.
goooooodness.
DIY Tiffany & Co. inspired birthday party

not only was it absolutely adorable but it was absolutely delicious.
My mom's friend recently started her own business and we were so thrilled when she said she would make it for us.
Wendy over at Million Dollar Desserts, out did herself on this one! Go look at all her other adorable cakes!


I have been DYING to share all these decoration ideas with y'all and I am so excited I can now!
I will be doing different posts on certain items we used for her party and the "how to" so don't miss it!


I have definitely been
 staying crafty my friends ;)