I have been looking for yellow curtains since probably back in the fall for my room...I wanted bright yellow so it would add some color against my gray walls and all I could find was a pastel yellow that looked like it belonged in a baby nursery so I got curious and started searching online and I finally found on pinterest how to make these...they don't involve sewing so I automatically fell in love because sadly I do not know how to sew (I will master that this year though.).
So here it is... THE "no-sew tablecloth curtains"!!
This is the finished project...

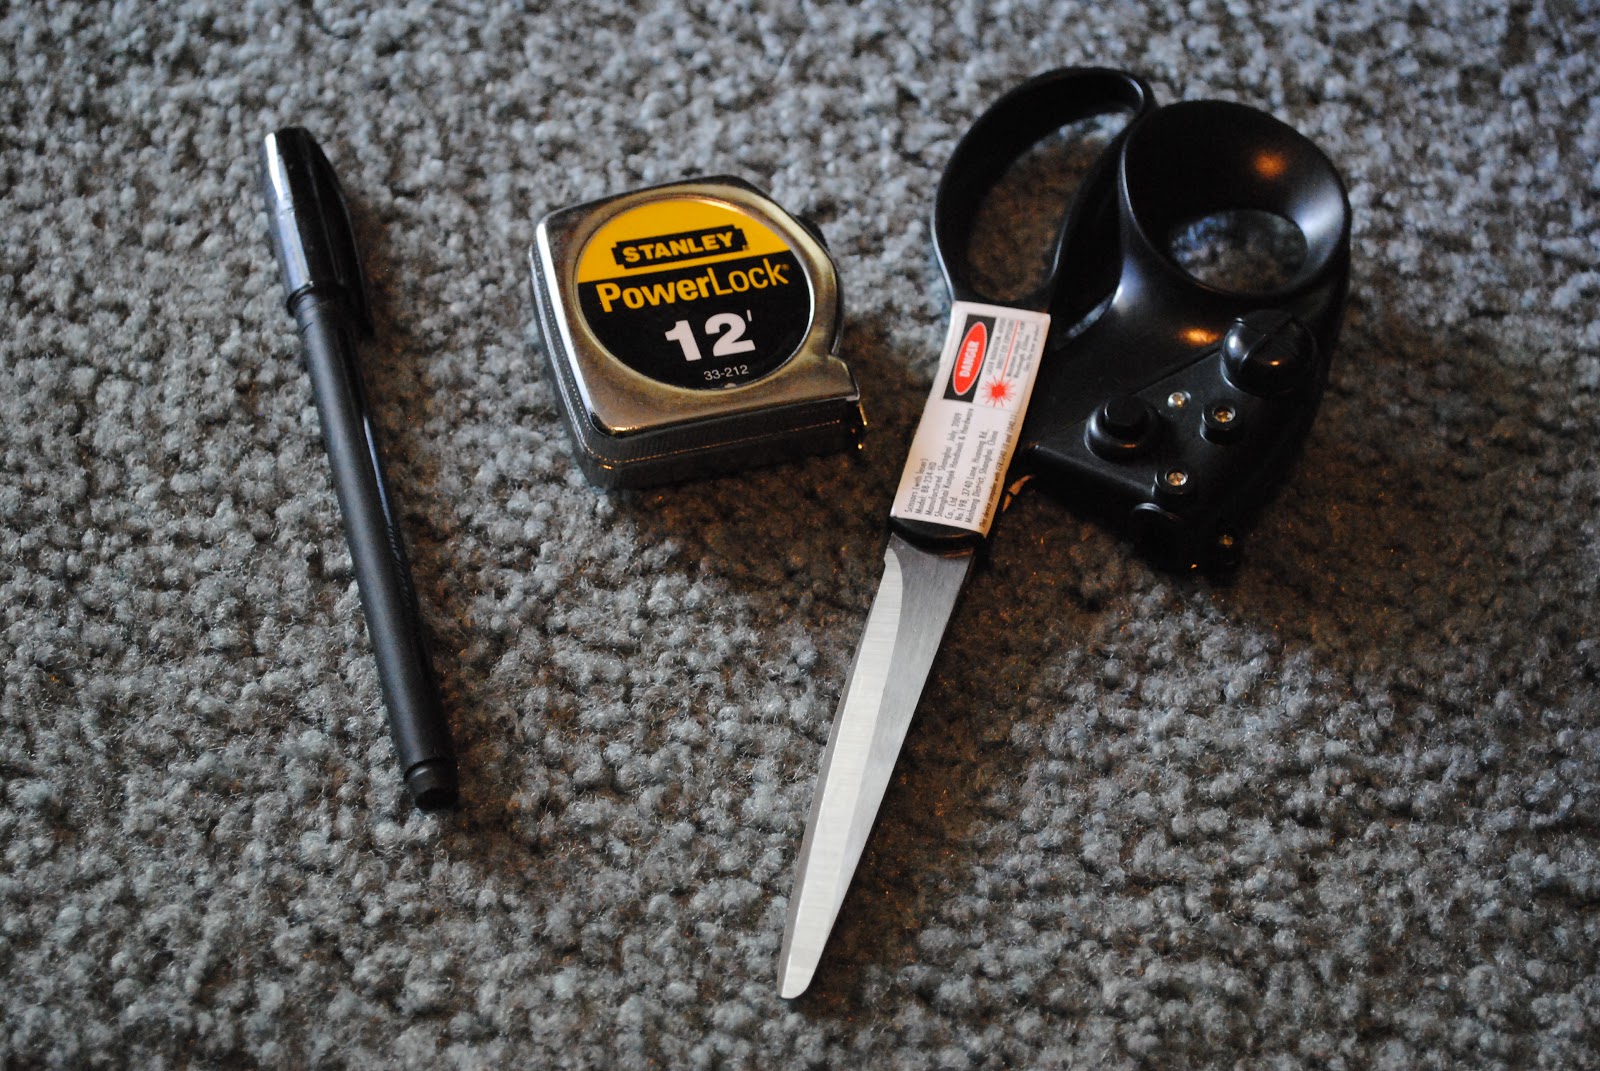
What you will need for this project
I went to Target and found this bright yellow tablecloth...just the yellow I wanted and it was only $18.00!!
I bought the 60"x80"

I measured it to find out where the middle was and then I took a sharpie and put a little dot there so I could remember where to cut it (don't worry no one will see it after you are finished!)

I used regular sissors to cut the tablecloth..after you cut it into two turn them over for the next step!

This is what I used so that the ends that I did cut wouldn't look like fringe from blue jean pants you decide to make into shorts!

This part is very easy it just takes a little bit of time. All you do is turn over the half and on the side that you cut you lay the hem strip down ( leave a little bit of space so you can fold the fabric over the hem strip)

This is what it looks like after you iron the fabric over the hem strip (and you can see the black dot from where I marked it when I was measuring it out...no one can see it now!)

Just a closer look at the finished project! LOVE the color/design!
After you finish ironing up the sides iron the whole thing so it doesn't have a wrinkled look.

These are the clips I used (I forgot to take a picture of them in the package, sorry!) I bought mine from Target also and alot come in a pack they are $4.00.

They aren't tacky looking which I love. All you do is hook them on to the top of your curtains and then slide them through the curtain rod and then...you are DONE!

One last final look at it!! I know they are long but I have stuff in front of my windows....so I don't care but If you don't want your's that long just measure and cut whatever length you want and get that hem strip added to the bottom!

If I had gone out and purchased regular curtains from JC Pennys...they would have cost me around $60.00 per window (one set of curtains)
but making them this way
I spent $66.00 TOTAL and that covers all three windows!
(3 tablecloths at the price of $18.00 a piece. One tablecloth per window just cut in half)
The Hooks: $12.00
(One pack of hooks per window)
So there you go!
The cheaper way to have WHATEVER kind of curtains you want!