Showing posts with label paint. Show all posts

Friday, June 28, 2013

DIY Candy dish..from the Dolla Tree

HAPPY FRIDAY!!
I don't know about y'all but this week has flown and I mean f-l-o-w-n by!! Not that I am complaining or anything because I definitely love me a weekend!

Remember about a month ago I shared with you my sisters surprise Tiffany & Co. themed birthday party? And remember how I promised I would do a how to post on the different things I made?
Well I didn't lie because I am sharing that with you today...finally....I know.

DIY candy dish

Well guess what?!
I bought this at the Dollar Tree...it didn't look anything like this when I bought it but almost everything came from Dollar Tree!!
Don't you just LOVE a DIY project with stuff from the Dollar Tree? 
.

I had some crazy picture in my head for this little project and I knew exactly what I wanted to get and how I wanted it to look.
This is actually a glass bowl on top of a glass candle stick holder.
What what!?
I am in love with how it turned out!
I used Gorilla glue to glue it together and bought the spray paint at Wal Mart.
This cost me about $6 considering I already had the Gorilla glue.


I just glued the bowl on top and then let it dry for about 30 mins and then spray painted it.
Don't use too much of the Gorilla glue because it expands as it dries.

I also made this one...
DIY candy dish
It's a glass bowl on top of a drinking glass. 
I did the same exact thing as the one above!
It was my first time ever using spray paint and let's just say I am looking for everything to spray paint now, I loved using it!!


Have any events coming up you could use this in?
If you make one let me know so I can look at it!!


Week 2 of training will be over this afternoon as soon as I clock out and you all know what that means...
6 more weeks of training!! 

Hope you all have a wonderful weekend!! :)

Monday, June 11, 2012

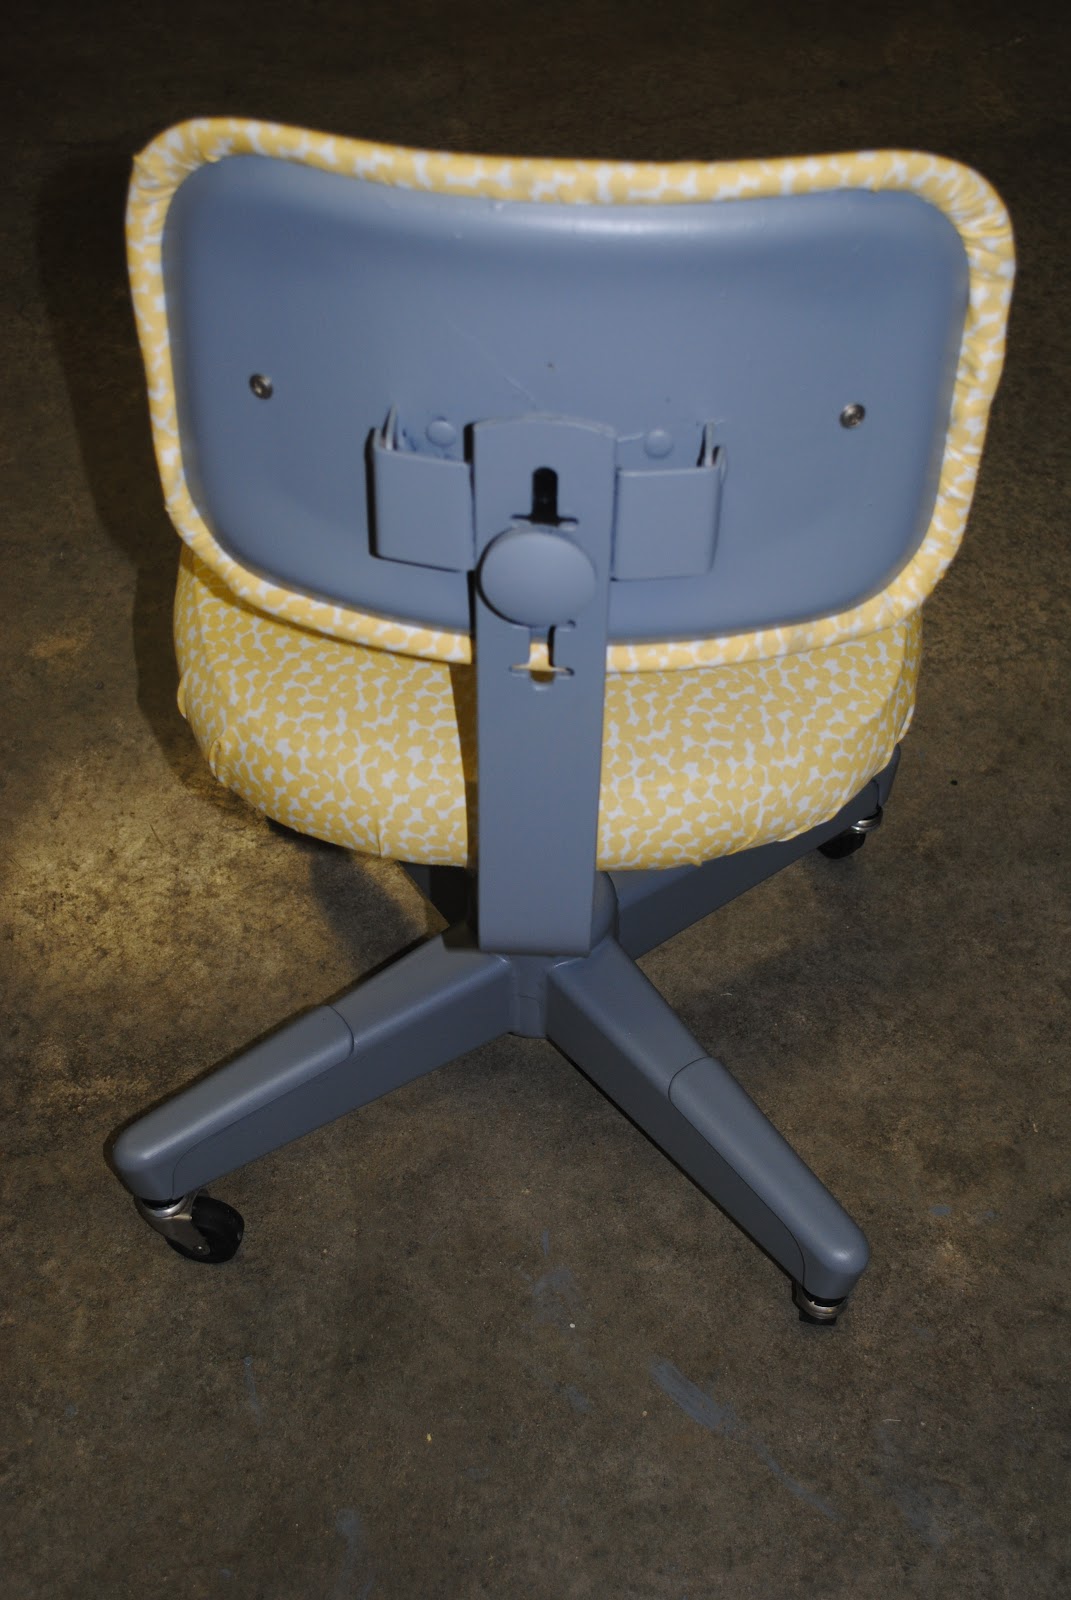
Office Chair...MAKEOVER


So this is the before and after of my office chair...makeover!


I printed this cupon off Joann's website and saved $7.00. I was a happy girl.


These are the tools I used....my chair was really old and I needed more tools you can probably get away with just using the screwdriver and staple gun.

First I tok off the back cushion and then I took off the seat cushion.

The fabric I picked out...I am in love with it! I bought 2 yards just in case I messed up and needed more but I ended up have alot left over so I will save it for another project.

I laid the back of the cushion down on the fabric to see how much I needed (I didn't want to cut off too much or not enough)

I have an old chair so it had these awful hooks that the back was connected to. So I have to lift each one of these up with a screwdriver and then I pulled the fabric over them and used a hammer to lay them back down...very time consuming but worth it.


The back...FINISHED! Now on to the seat cushion (it was easier to do)


This is where I used the staple gun. This part was the easiest!

I wanted to paint the black part gray to match my walls in my bedroom. I probably should have used a white primer first but I was too excited to see the gray on it...It took three coats because I didn't use the primer. Patience patience patience.


After the THIRD and final coat of paint...


 I waited for the paint to dry and then I added the cushions back on (a little tricker screwing them on then when taking them off)


Needless to say I LOVE my new chair and it goes pefrect with my room.
This project only cost me $7.00
The fabric: $7.00
The paint: $0.00 (left over from my room)
The tools: $0.00 (daddy's tools)