Wednesday, May 29, 2013

3 years ago today

This stud muffin asked me to be his girlfriend.
and of course I said YESSSS.


Sometimes I still pinch myself to make sure I’m not dreaming all of this!! Matthew is the kindest, most patient, sweetest boyfriend in the world. I know, I know gag me with a plastic spoon, this is so super cheesy and you want to quit reading or role your eyes, that’s cool too. But, seriously if know us together, then you know. You really just know y’all.


 I can’t believe I get to hug him, love him, annoy him, kiss him and bug him every day. I couldn’t imagine living this crazy life with anyone else but him. I thank God for YOU and this incredible love that we share together every single day. Thank you for choosing me to be your girlfriend and being my best friend and thank you for challenging me every day to be the woman you deserve. I will love you better every day. Also, thanks for being so dang good lookin. I don’t hate it. Happy three years, Matthew!
LOVE YOU SO MUCH

Tuesday, May 28, 2013

Tiffany & Co. inspired birthday party

Well my weekend started on Saturday at 1:15...when I got off from one of the craziest Saturday's I have ever worked. Ever.
I came straight home and went into full decorating mode.
We were throwing my younger sister a surprise sweet sixteen birthday party. 
Her original birthday was back in April but with Proms, her sorority activities and graduations going on this was the first weekend we were able to have it...crazy busy.
Her best friend invited her over Friday night and took her shopping Saturday morning, so we could set everything up on our back patio.
The theme of her party was Madison & Co. 
y'all get ready for an overload of pictures....
She was definitely surprised!

If you are following me on Instagram then you have already seen some of these!
The candy and cake table
Tiffany & Co. inspired birthday party

Tiffany & Co. inspired birthday party


The candy holders...are from Dollar Tree
I got bowls and wine/martini glasses and just glued them together and then spray painted them!
Tiffany & Co. inspired birthday party

Three tier candy stand...also from Dollar Tree
plates and candle stands glued together
Tiffany & Co. inspired birthday party


 The food table 
DIY Tiffany & Co. inspired birthday party


I found paper mache boxes at Hobby Lobby and painted and added white satin ribbon to them
DIY Tiffany & Co. inspired birthday party

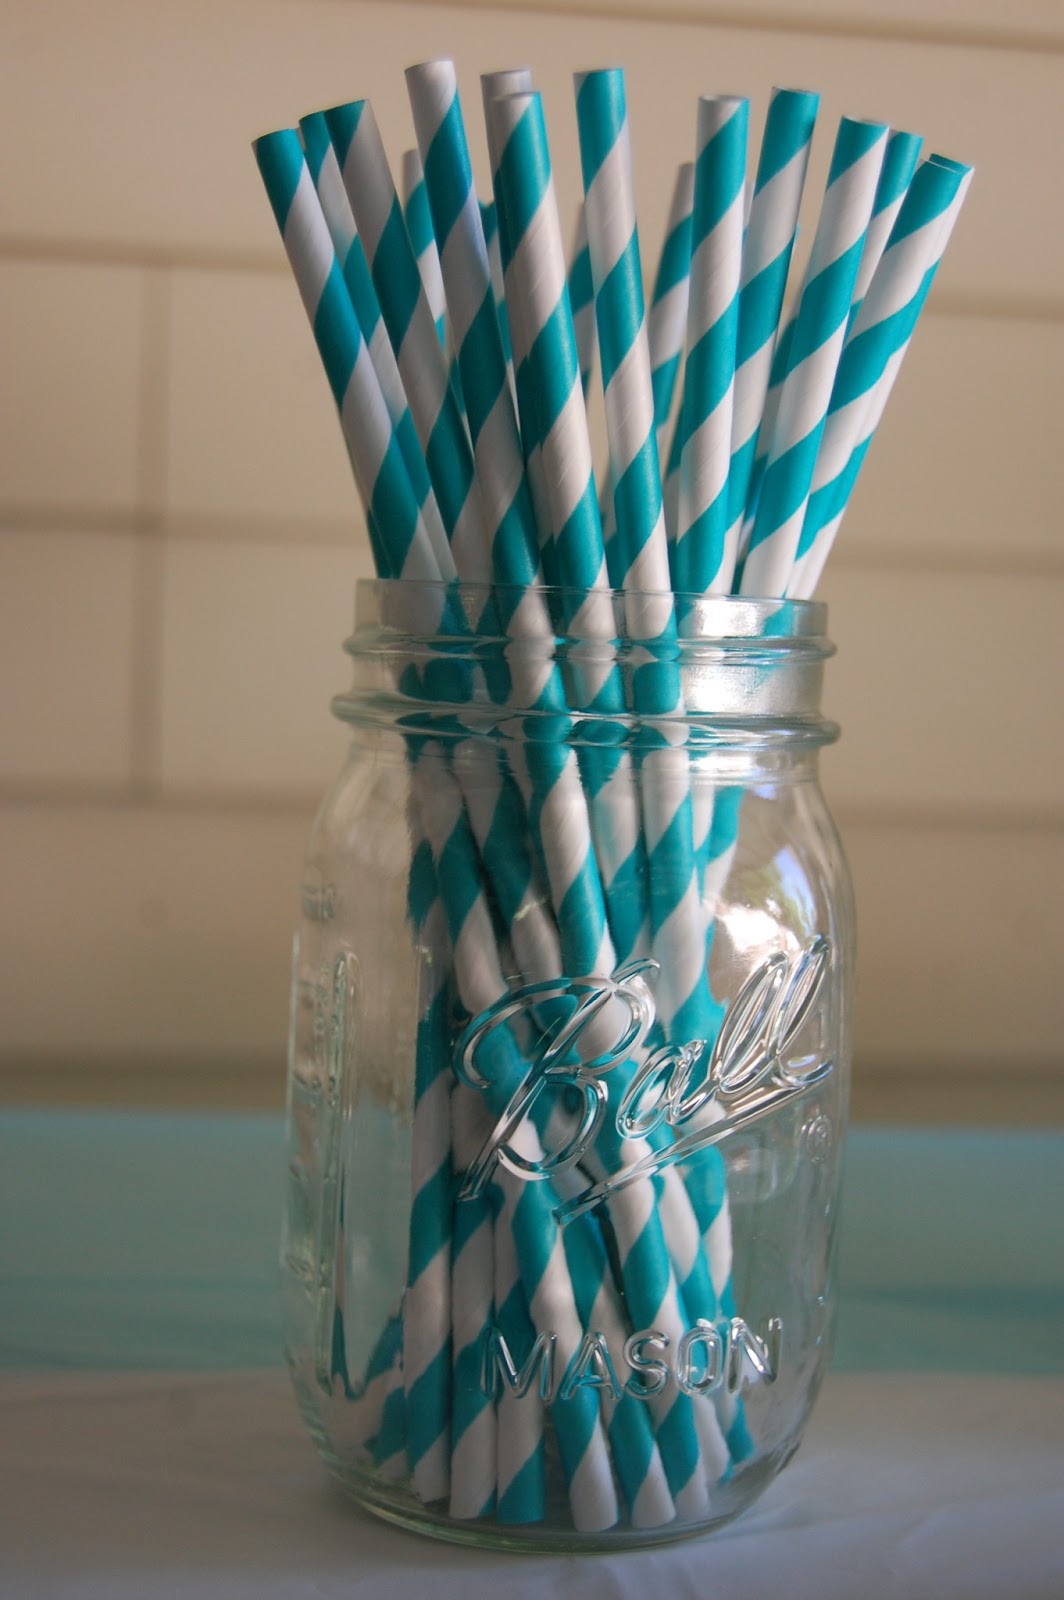
Absolutely IN love with these straws
DIY Tiffany & Co. inspired birthday party

DIY Tiffany & Co. inspired birthday party

The centerpieces
DIY Tiffany & Co. inspired birthday party

DIY Tiffany & Co. inspired birthday party

DIY Tiffany & Co. inspired birthday party


Balloons lining the drive way
DIY Tiffany & Co. inspired birthday party


and the cake...
oh.
my.
goooooodness.
DIY Tiffany & Co. inspired birthday party

not only was it absolutely adorable but it was absolutely delicious.
My mom's friend recently started her own business and we were so thrilled when she said she would make it for us.
Wendy over at Million Dollar Desserts, out did herself on this one! Go look at all her other adorable cakes!


I have been DYING to share all these decoration ideas with y'all and I am so excited I can now!
I will be doing different posts on certain items we used for her party and the "how to" so don't miss it!


I have definitely been
 staying crafty my friends ;)

Thursday, May 23, 2013

SPD linkup: Sucker bouquet

This is an easy project to make but it's not the cheapest or quickest. Already have you hooked, right?


BUT
 they are adorable so it makes up for it!

What you will need:
-Styrofoam ball
-300 count bag of dum dum suckers
-candle stand or flower pot

-I bought my Styrofoam ball at Joann's and I used this lil handy coupon (and Joann's lets you use the coupon as many times as you want, even breaking up the transactions...HOLLA)


-Don't make the mistake like I did thinking that small bag of dum dum suckers  from Dollar General will do because it won't even cover half of the dang ball, so drive across town and buy the big bag of 300.
-I chose to use a candle stand and I bought it for a $1 at Dollar Tree

Buy this.

NOT THIS


How to make it:
1. Just stick the sucker in the ball one at a time, get them as close as you can so there aren't any gaps showing.
2. Put the finished sucker ball on the stand or the flower pot
3. Make a picture of it, duh.


Obviously don't cover the whole ball in suckers because then it wouldn't sit on the stand


{See SO easy, just time consuming but if you work on it while watching TV or the Bachelorette coming up...eeek then it won't seem like so long}


Linking up with Steph today!

Tuesday, May 21, 2013

A little happy for your Tuesday


I don't know about you but there is just something about an elderly couple that just 
melts.my.heart.


Happy Tuesday!