Thursday, July 31, 2014

Apartment Bathroom Makeover Part II

You may remember my post this past October about my bathroom makeover at my old apartment. With over 33,000 page views it is one of my most viewed posts! So, now that I'm in my new apartment (#sKaapartment) I'm ready to share with you part II.
 
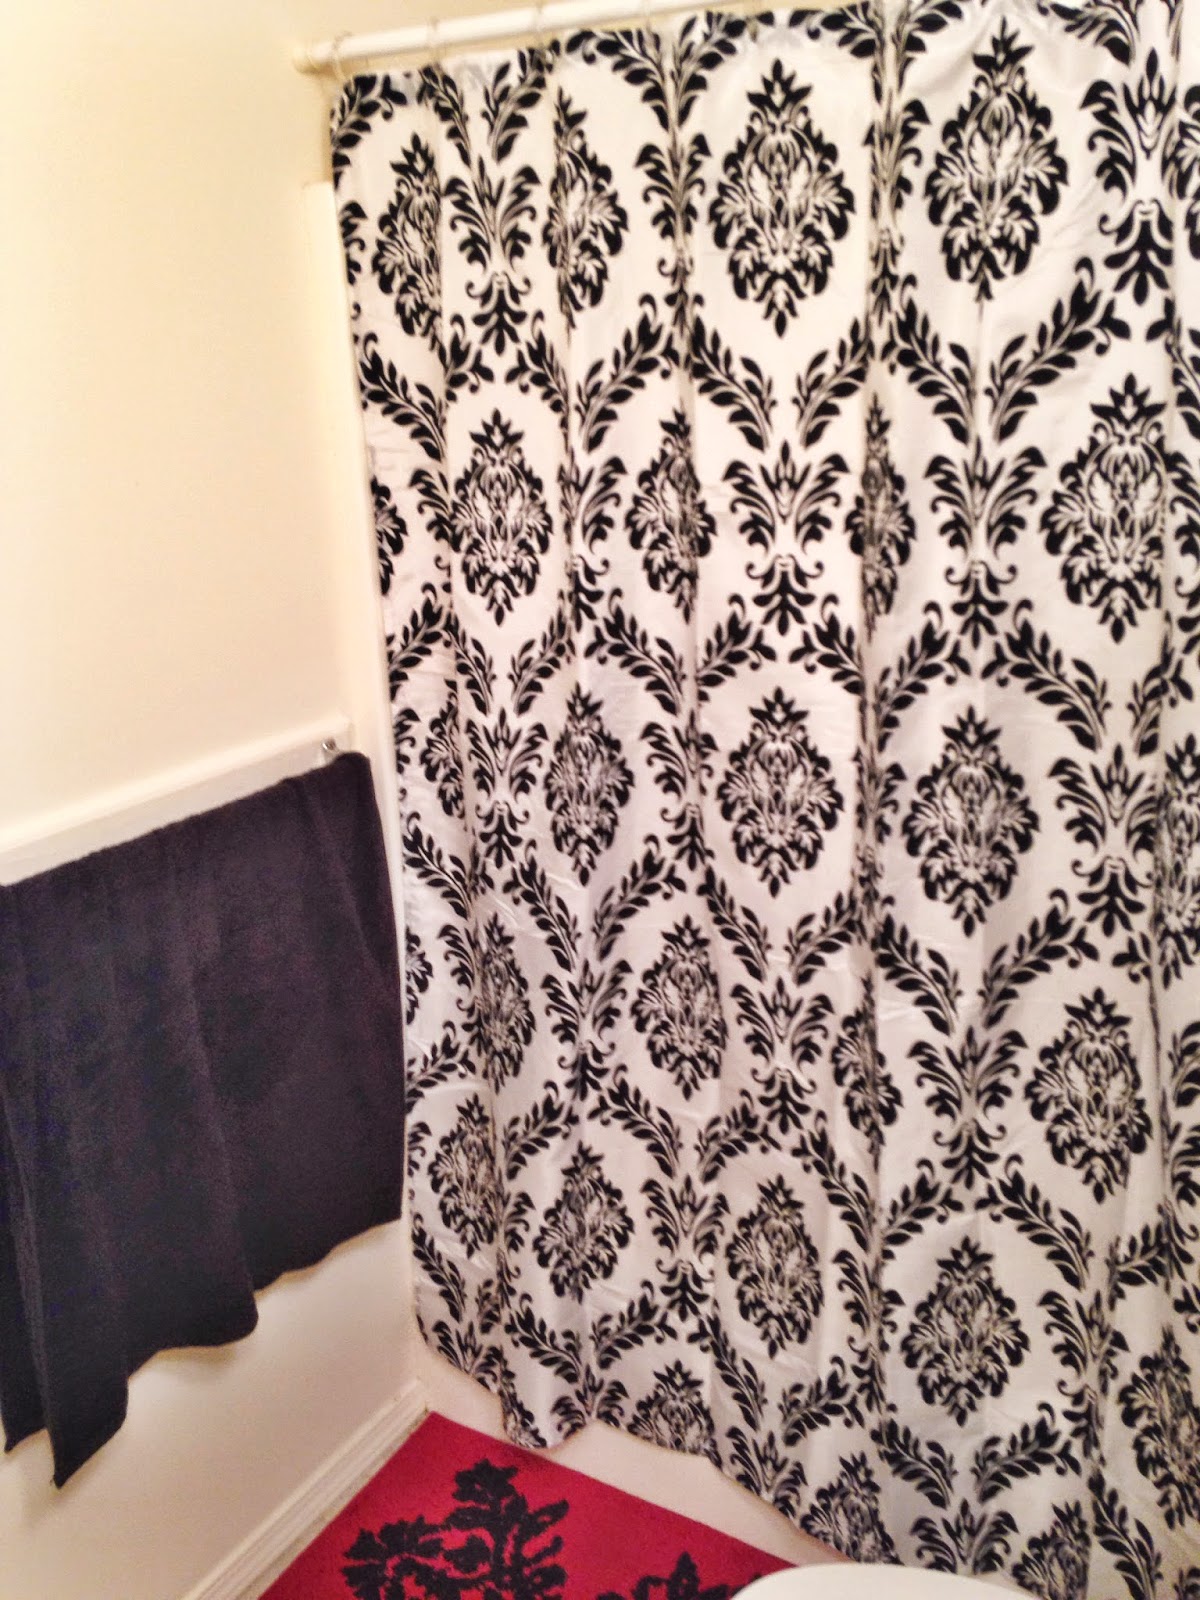
My new bathroom is very small but it's all I need for right now. My color scheme is red, black and white.
 
 These are the views when you first walk in
 
 
I decided to keep my floating shelves and baskets. I just couldn't justify throwing them away when they are still in perfectly good shape. They are great for storage since I don't have many drawers or a lot of cabinet space.
 
I still would like to add something to the walls in here, nothing major just something small.
I am also looking for a small tray to put on my counter in that right corner as well.

 
I also decided to put my shelf back over the bathroom door. I honestly had no where to keep my towels and I love the idea of using that area for storage, it's out of the way.


I absolutely love these colors together and how it turned out.
Do you have a small bathroom? If so, what did you come up with for storage?

Wednesday, July 30, 2014

Freezer meals- SO EASY!

On Saturday Matthew and I came home. We had planned on staying on Cookeville but he needed to have his car checked for a leak. We drove all the way home straight to the car shop and wouldn't you know the only guy that works there that can check that was off for the day. We should have called first, lesson learned! We had some pretty good plans for that day so it made up for it! Cooking and lunch with his parents. I was SO excited and couldn't wait to start cooking. I had told Matthew awhile ago that I wanted to cook a bunch of meat/meals and freeze it so I can just sit it out that morning and it be ready to cook/heat up when I get off.
I had made a list on Thursday of what all I wanted fix so we stopped Kroger and got everything we needed. We also stopped by Dollar Tree to get these bad boys..

They are THE perfect pans to put meals in and freeze them and you get three in a pack for a DOLLAR! So, we did what any normal person would do and got 14 packages ;)
Seriously these are the perfect size for two people!
 
Since we eat tacos once a week #tacotuesday I wanted to fix some ground beef.
We browned 3lbs of ground beef and then put them in freezer storage bags.
I made 2lbs of Italian meatballs, I mixed all the ingredients and baked them in oven then let them cool and put them in freezer storage bags as well. We laid them flat in the freezer and they stacked in there perfectly!
 
Matthew has told me about his momma's chicken pot pie before so I knew I wanted to make that and we ended up making two!
 We didn't bake them. We put them together and then just put it in a large freezer storage bag and when I get ready to make it I will set it in the freezer that morning and let it unthaw all day and then throw it in the oven for an hour!
 
I also wanted to make us breakfast burritos. I was getting tired of my banana and peanut butter every morning and Matthew's toaster strudles  aren't the healthiest and they weren't holding him over to lunch. These were very simple to make, I got the directions from HERE. She has great step by step directions with pictures and even heating directions!
 
We also bought some chicken, we boiled some for the chicken pot pie and some for the poppy seed chicken. Matthew and his dad grilled the rest for us to freeze :)
Here is the poppy seed chicken casserole. Matthew's mom made this in like 5 minutes! I've never had poppy seed chicken so I am very anxious to try it. It looks delicious though :)

 
To say I loved Saturday would be an understatement. It was just so fun hanging around the kitchen cooking with Matthew's mom and learning from her. I've said it before and I'll say it again she is the queen of the kitchen! She knows how to make everything! It honestly took a lot less time than I thought it would. I can't wait to have another cooking day and to try new things!
 
Do you make freezer meals?
Anything I should try?

Friday, July 25, 2014

IT'S FRIDAY

 -I have a new schedule at work and I am absolutely LOVING it! I have the WHOLE afternoon to do things and can make it to places before they close. It really is as great as it sounds :)
 
-This past Tuesday we went to dinner and a movie (REALLY loving that new schedule) movie tickets are cheaper between 4:00-5:30. We hadn't been on a date since our anniversary back in May and we have been crazy busy. It was nice to get dressed up and go on a date!
 
-Matthew is studying for his last test!!!!! He has taken the first three and so far we know he has passed his first one. We are waiting and waiting and WAITING to find out about his second and third one. He should find out about those in a couple of weeks.
 
-School starts back a month from today and all the SOC events will too. We have so many things planned for this year and I am SO excited!
 
-Tonight we are going with our campus minister and a few others from the SOC to a college fair type thing (not exactly sure it's actual name) at Lipscomb. I'm excited to see what it's all about and to hear the speaker.
 
and because I hate having posts without pictures....one of my favorites from this past Easter!
LOVE this man!!
 
 HAPPY FRIDAY, FRIENDS!!
 
 
In case you missed them, this week I posted:
50's Themed Surprise Party
DIY Chalkboard Frame
DIY Headboard

Thursday, July 24, 2014

DIY Headboard

 
I have a to do list for my apartment about a mile long but one of the things on the top of that list was to make a headboard for my bed. I knew I was going to need my dad's help because 1.) he has all the wood at home in his shop and 2.) he can build anything if I show him a picture of it.
I've spent the past few months doing a little research here and there to find the style I like the best and when my family came to visit a little over a month ago I had my dad take measurements and showed him the one I liked best. Well, lo and behold last Thursday I got a text from daddy of this beautiful thing...
Here are the materials we used
  • Plywood
  • Fabric (enough to cover each edge of your plywood shape by about 4-5 inches
  • Foam
  • Quilting Batting
  • Spray Adhesive
  • Staple Gun (My favorite tool, ever)
  •  
    We started out with the foam. I bought mine at Hobby Lobby for $26 (used 40% off coupon) I'm sure you can find it online for a better price. If I would have known it cost that much I definitely would have done some research for a cheaper price but I waited until the day we made it to purchase it.
     
    To apply the foam we used adhesive spray, I don't remember how much this was because I already had it on hand. We sprayed the whole board with it and then laid the foam down quickly. We cut the remaining foam off.
     
    Next we applied the quilt batting. I bought this the day of at Hobby Lobby as well. It was $15 (used 40% off coupon) I bought the queen size just to make sure I had enough and had plenty and then some.
    We turned it over and left about 4-5 inches and stapled it down with a staple gun


    We cut the remaining off
     
    This area was pretty difficult. We had to tug and pull at the batting to get it as tight as we could to staple it without ripping a hole in it.
    

    Here is the back once we finished stapling the batting
     
    The front

    and side view
     
    Finally, it was time to add the fabric. I waited last minute on finding fabric (I see a trend here) but really lucked out on this because it was already 50% off at Hobby Lobby and matched perfectly.
    It was tricky at first because we had to make sure it was straight and then flip it over to staple (it didn't help we were making this on my tiny apartment deck lol)
     
    We stapled the fabric down but a lot of the staples weren't going all the way through so we used a hammer to help push them in.
     
     The most difficult part of the whole thing, again, were those small parts on each side of the arch. We cut slits into the fabric and pulled and pulled (carefully, so we didn't rip the fabric) There really aren't any specific instructions for that part other than to be careful! We probably spent about 30 minutes alone on that section.


    Here it is!


     I absolutely LOVE how it turned out.
     The fabric couldn't have matched more perfectly.
     
    If you have any question that I didn't cover just email me and I'd be happy to answer them! 
     

    Wednesday, July 23, 2014

    DIY Chaklboard Frame

     
    If you have been to Hobby Lobby recently then I'm sure you have seen these frames. I have been eying them for the past six months and they finally were half off so I bought a couple. I knew that getting glass cut to fit these would be anywhere between $60-$70 and just couldn't justify paying that. So after researching some different options I found plastic backings at Hobby Lobby for $5. I don't know about y'all but I would much rather spend $5 instead of $60 any day! I painted the backing with some chalkboard paint I already had on hand and now it's finished. Loved the way it turned out. Now I want to make about 10 more. I looked up some chalkboards with white frames like this and the average price for them are anywhere between $105-$120 so I feel paying $25 (Frame was on sale for $20 and plastic backing was $5) for this project is more than okay! Especially since it will be used for way more than just apartment deco :)
     
     
    Here are some pictures of them up close, the detailing on them are gorgeous.
     
    Here is a picture of the plastic backing..it's hard to see but there isn't really a good way to get a picture of this. It's in the frame section of Hobby Lobby and they have many different sizes.

     and here is the plastic backing after I painted it with the chalkboard paint. I used a sponge brush and it worked fantastic! It did take about 6-7 coats. It probably would have been fine with about 5 coats but I knew once I got it in the frame there way no taking it out so I was just being cautious.
     
    There aren't claps on the back of the frames (which is incredibly frustrating) so I put a small drop of hot glue in all four corners of the frame and then laid the plastic backing on it and then applied hot glue all the way around it from the back. If you decide to use hot glue to keep it in place then make sure you do little spots at a time and then hold it down to dry and then move to the next section you are going to hot glue down.
     
    This is a really simple project and like I said, I LOVE the way it turned out!

     I also bought a small size but I'm not making that one into a chalkboard :)
     
    Have you picked up any of these frames?
    If so, what did you use them for? 

    Monday, July 21, 2014

    50's themed surprise party

    This weekend went by very fast and it's probably because we were so busy but it was a good one!
    For the past few months we have been planning a surprise birthday party for my nanny. She turned the big 75 this year and we decided to go all out. We decided to have a 50's themed party, since that was her favorite time. My mom worked her tail off planning this party and everything turned out great!
    Friday night I came home and started helping decorate, we had the party in local church gym at home, which was perfect. The size was perfect and we had a kitchen to use and plenty of parking.
     
    Saturday we got to the gym to finish some last minute decorating and to prep the food. Nanny was being picked up by some friends to "go to a jewelry party" at the church.
    I haven't downloaded all my pictures from my camera yet so here are some Iphone pictures for the time being
     
     Grandkids & great grandkids with nanny...aaaand my eyes are closed.
     
    sisters 

     My cousin with his sons!
     
    Root beer floats for the win!
     
     cake & cupcake table
     
    a family friend made the cake and we loved it!
     
    mom found old pictures of nanny from the 1950's for the centerpieces!
     
     
    my 2 best friends were able to come!
     
    my dad's mom and my mom's mom!
     
     aaand the birthday girl! We had an outfit at the party for her to change in to after she got there!
     
    they were lovin' the party!
     
     
    It was a great time with all the family and close family friends! Nanny was completely surprised and so overwhelmed at first but was so happy.